


This is the finale to the series of articles I’ve been posting lately. Although this is in no way the end of writing the automation framework. This framework will extend. I’ll try to post the GIT url for checking out the code shortly and update this article. I’ll also try to put up a PDF ebook which will have the details of all the things clubbed together.
Running tests belonging to a particular property
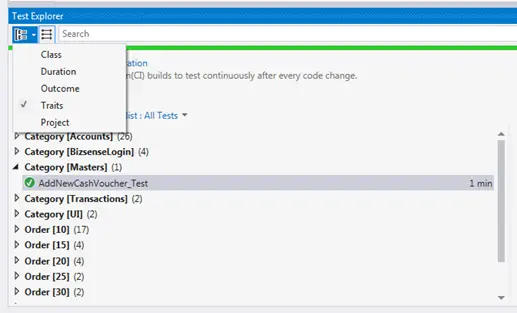
To run tests belonging to a particular property for example Accounts, in test explorer you must group the tests by Traits that you have specified in the project. Once this is done, the test cases would be grouped by used categories.
Users can specify multiple categories for their tests so that it will be easy to work on selective tests. This facilitates running suites or tests only chiseled for a particular test area or for particular module respectively.
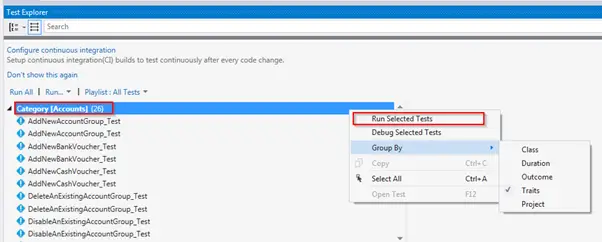
To run test cases belonging to a particular Trait/Category, simply select the category by right clicking on it and selecting Run Selected Tests. This way only the selected category tests would be run.
Creating a new project
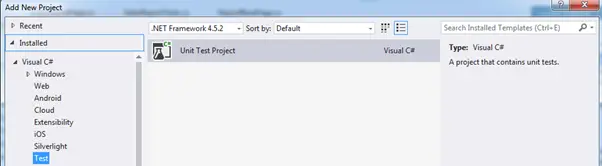
To create a new project for another automation, simply create the new project for C#. The project should be of type Test > Unit Test Project.
Example:
- Goto Solution explorer
- Right Click it
- Click Add
- Select Add a new project
- Specify the project Name
| Add the packages for this framework as mentioned in the packages section above. They must have identical versions to avoid failures. Once packages are dealt with add the files LoginPage.cs (Pages Folder)Settings.cs (Project Folder)to the project. |
Once the project is created, next step is to add packages to it. The packages can be added by using Manage NuGet Packages option.

Add the packages for this framework as mentioned in the packages section above. They must have identical versions to avoid failures.
Once packages are dealt with add the files
- LoginPage.cs (Pages Folder)
- Settings.cs (Project Folder)
to the project.
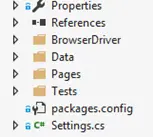
The structure should be identical to the one specified here with folders created for data, pages and tests.
Now that we have all the pieces for the project in place. You can start creating your pages and tests as mentioned earlier.
Appendix
Visual Studio Debugging Shortcuts
After adding the break points in code, when you are running the code in Debug mode – Use the following keys
F10 – To analyze and check each line of the code once the break point is hit
F11 – To step into the cod
F5 – Will resume the program flow
With this I end the topic for writing automation framework. I will append the PDF in next couple of days and provide the GIT link in this article which you can utilize to check out the automation code. It is a wise thing to remember that once you have something built and put together, you would find that its pretty easy to extend the functionality of the framework. Its flexible and its your own way. Feel free to use, rename the code the framework as you would like to. Let me know in the comments if these articles helped you. Keep coming for more excellent articles here on www.learnxyz.in

I really appreciate this post. I have been looking all over for this! Thank goodness I found it on Bing. You have made my day! Thanks again
I like the comprehensive information you provide in your blog. The topic is kinda complex but I’d have to say you nailed it! Look into my page 59N for content about Thai-Massage.