

![[keyword]](https://learnxyz.in/wp-content/uploads/2026/02/1771249369_How-to-start-a-Deep-Learning-VM-on-Google-Cloud.png)
Setting up a local Deep Learning environment can be a headache. Between managing CUDA drivers, resolving Python library conflicts, and making sure you have enough GPU power, you often spend more time configuring than coding.
Google Cloud and Canonical are working together to solve this Deep Learning VM imageswhich uses Ubuntu Accelerator Optimized OS as the base OS. These are preconfigured virtual machines optimized for data science and machine learning tasks. They come pre-installed with popular frameworks, such as PyTorch, and the necessary NVIDIA drivers.
In this guide, I’ll walk you through how to start a Deep Learning VM on GCP using the console, and how to verify your software stack so you can start training right away.
- Pre-installed frameworks: No need to manually install generic libraries.
- GPU Ready: NVIDIA drivers are pre-installed and verified.
- Jupyter Integration: Seamless access to JupyterLab right out of the box.
Step 1: Navigate to the GCP Marketplace
First, sign in to your Google Cloud Console. Instead of creating a generic Compute Engine instance, we want to use a specialized image from the Marketplace.
- Open the Google Cloud Console.
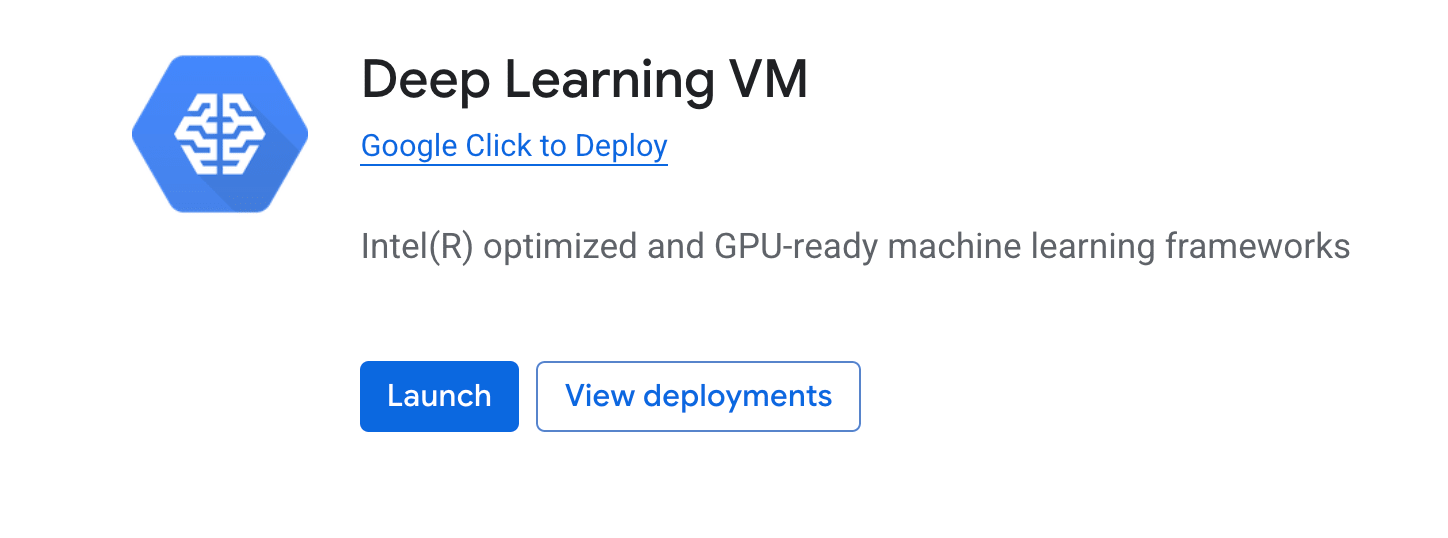
- Type in the search bar at the top “Deep Learning VM”.
- Select the product with the name Deep Learning VM published by Google.
Step 2: Set up your instance
Once you are on the Marketplace Deep Learning VM listing page, click Start. This will take you to the deployment configuration screen. This is where you define the power behind your model.
Here are the key settings you should pay attention to:
- Zone: Make sure to select a zone that supports the specific GPU you want to use (in my case I chose the us-central1-f zone).
- Machine type: Choose a CPU/RAM combination that meets your requirements if you don’t need a GPU.
- GPU type: You can add your GPU type, such as the NVIDIA T4, A100 or H100.
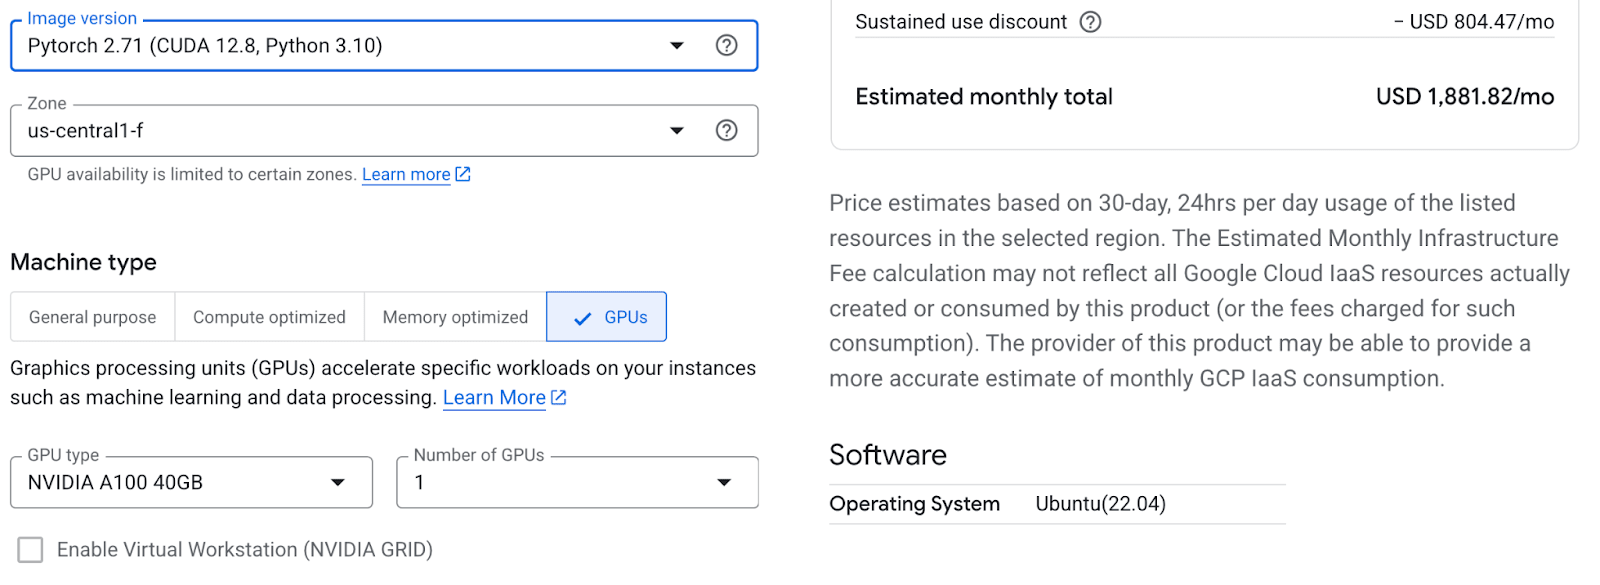
Configure the VM instance in the Google Cloud Console.
Once you’ve made your selections, click Deploy.
Step 3: Connect and verify
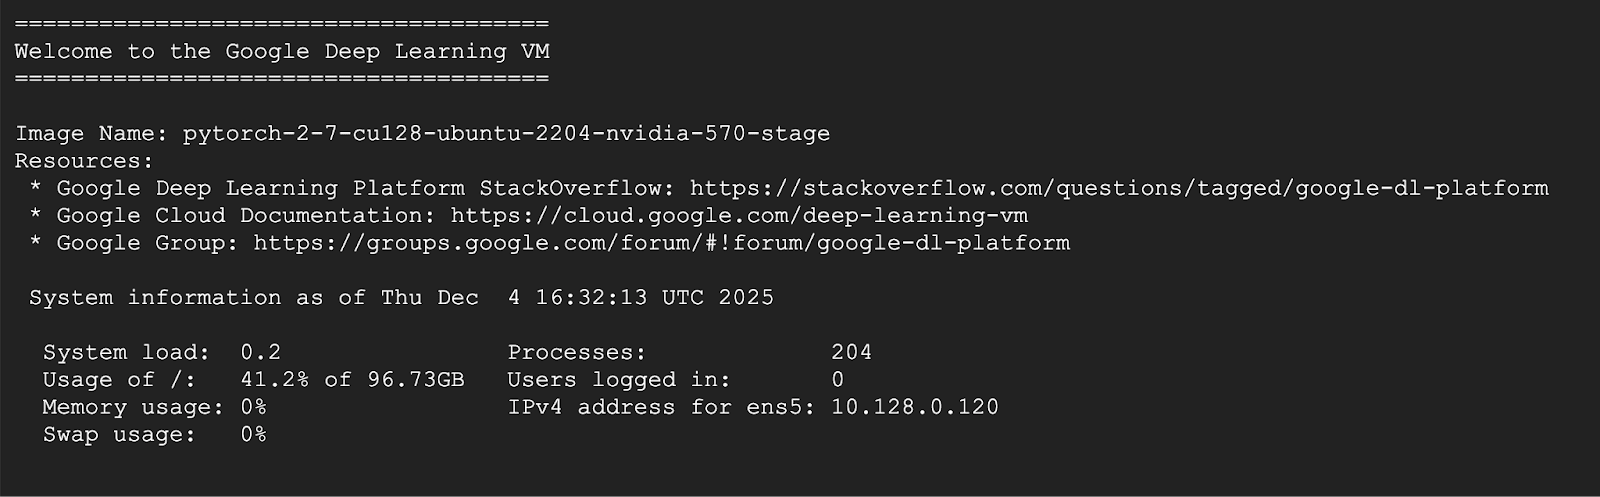
After a minute or two, your VM will be deployed. You can find it in your list Compute Engine > VM Instances page.
To access the machine, click the SSH button next to your new instance. This opens a terminal window directly in your browser.
Step 4: Check the software stack and drivers
Now, let’s make sure everything works under the hood.
1. Verify NVIDIA drivers
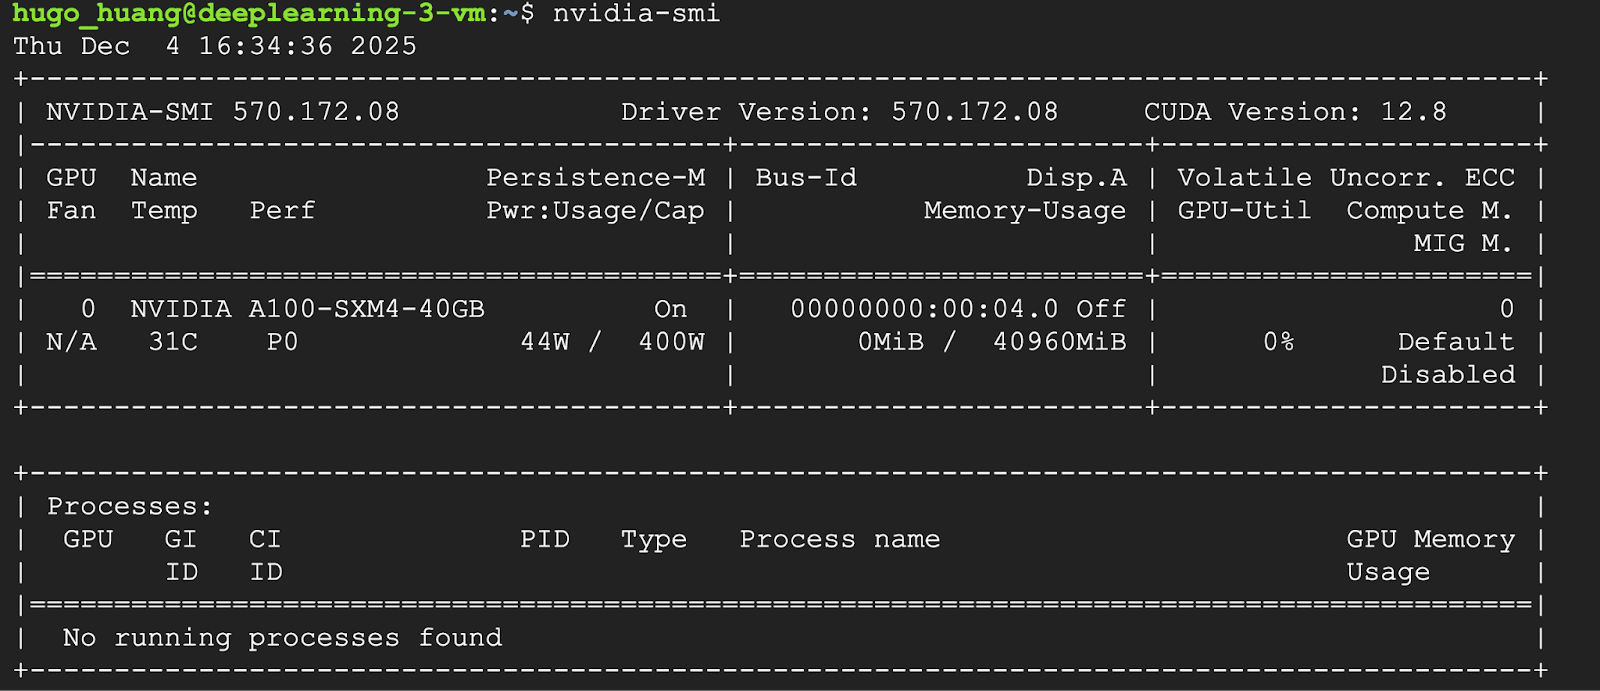
If you have a GPU attached, the most important check is to ensure that the drivers are loaded correctly. Run the following command in your SSH terminal:
nvidia-smi
You should see a table containing your GPU (eg A100) and the CUDA version.
2. Check pre-installed software
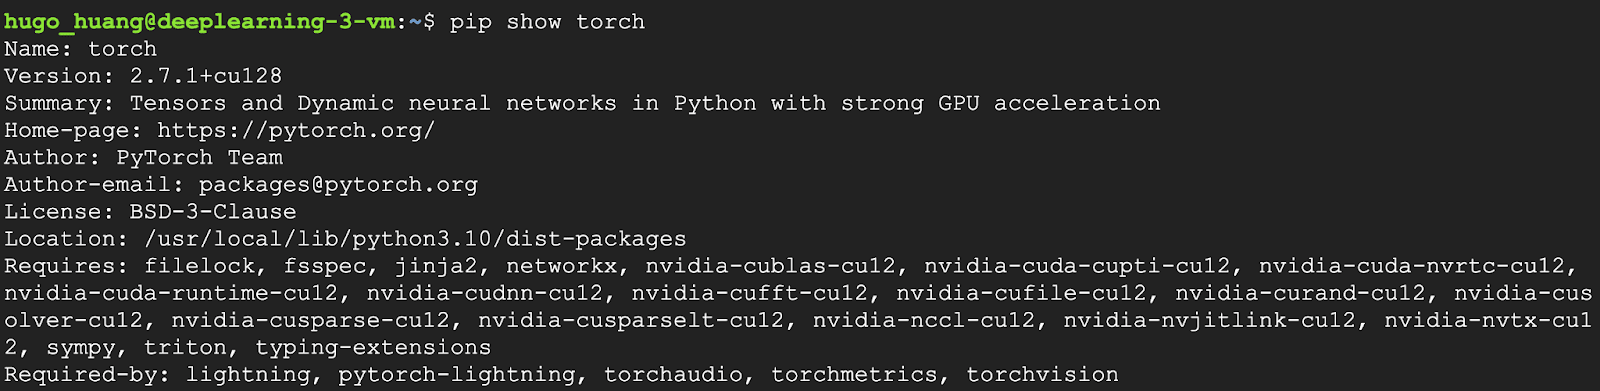
Google’s Deep Learning VMs usually come pre-configured with PyTorch. You can check the installed packages to ensure your favorite libraries are there:
pip shows torch
Deduction
And that’s it! In just a few minutes, you have built a fully configured Deep Learning environment. You can now start running training scripts directly from the terminal.
Don’t forget: Deep Learning VMs with GPUs can be expensive. Remember to stop your case when you’re not using it to avoid unexpected charges!
Learn more about Canonical’s offerings on GCP


![[keyword]](https://learnxyz.in/wp-content/uploads/2026/02/Test-Update-2026-01-03-COSMIC-101-Budgie-NVIDIA-Driver-Assistant.jpeg)
